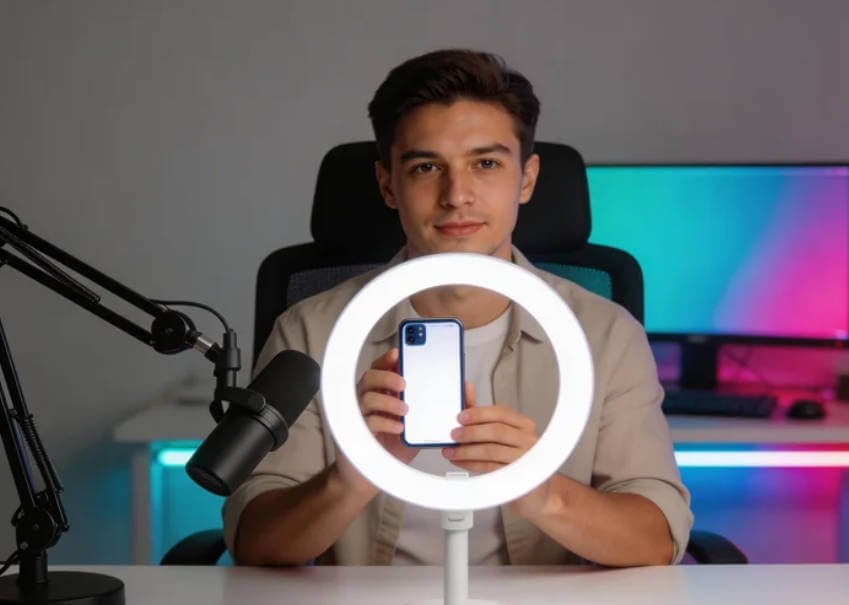
When you’re starting a journey into vertical video—whether it’s for IG Reels, TikTok, or YouTube Shorts—the first question is almost always about gear. Many creators begin with a standard ring light, but they quickly realize that achieving a “cinematic” or professional look requires more than just a single circle of light.
As a professional gaffer, I’ve seen this debate play out many times: Should you stick with the simplicity of a ring light, or is it time to invest in a versatile rgb video light panel system? Based on recent industry discussions and expert feedback, here is a comprehensive look at how to build your lighting kit.
The Evolution of the “Clamshell” Look
For makeup and portrait-style videos, the “Gold Standard” is often Clamshell Lighting. This setup creates a flattering, even glow that minimizes shadows under the eyes and nose.
- The Setup: Position your primary rgb video light above and slightly to the side of the subject.
- The Fill: Use a reflector or a second light at the waist or lower chest level to bounce light back up.
- The Background: This is where the rgb video light truly shines. Using RGB panels on the background allows you to create depth and narrative without needing physical gels.
Why a “Family” of Lights Matters
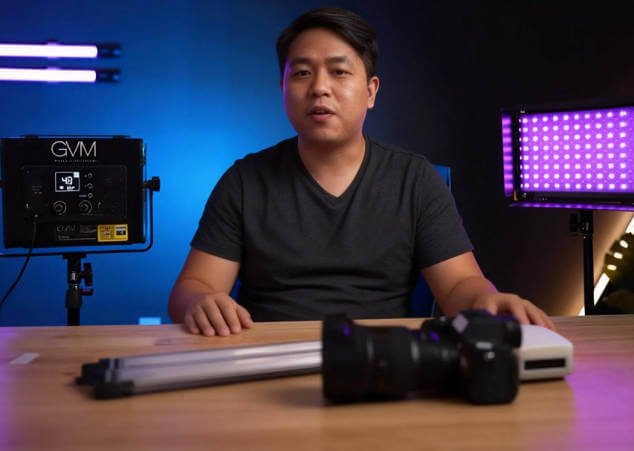
One of the most overlooked aspects of lighting is the ecosystem. Expert NickZ2016 suggests that staying within one “family” of lights is a strategic move for several reasons:
- App Control: Modern lights from brands like GVM or Amaran allow you to adjust every unit from your phone. This is essential when lights are mounted high or in hard-to-reach places.
- Accessory Compatibility: Power adapters and modifiers like softboxes often won’t fit different brands.
- Consistency: Mixing brands can lead to slight color shifts, making your post-production color grading much more difficult.
Comparing the Industry Leaders
If you are looking to purchase your first professional rgb video light kit, three brands currently dominate the conversation:
| Brand | Notable Features | Expert Take |
| GVM | Offers the popular 800, 1000, and 1200 series. | The GVM 1000 kit is highly recommended for its power and the inclusion of light stands in a travel-ready package. |
| Amaran | Known for the P60c and P120c RGB panels. | Has a solid reputation for budget-friendly but high-quality lighting. Experts suggest getting a larger unit (like the 120c) so you have the power to “dial it down” rather than maxing out a small light. |
| Neewer | Offers a wide range of options like the RGB660 and RGB1200. | A versatile choice for those who want specific LED counts and input power options ranging from 50W to 60W. |
Pro Tips for Better Results
- Don’t Fixate on Stands: While a kit with stands is convenient, you can always buy high-quality light stands separately. Pay more attention to the light quality and the App interface.
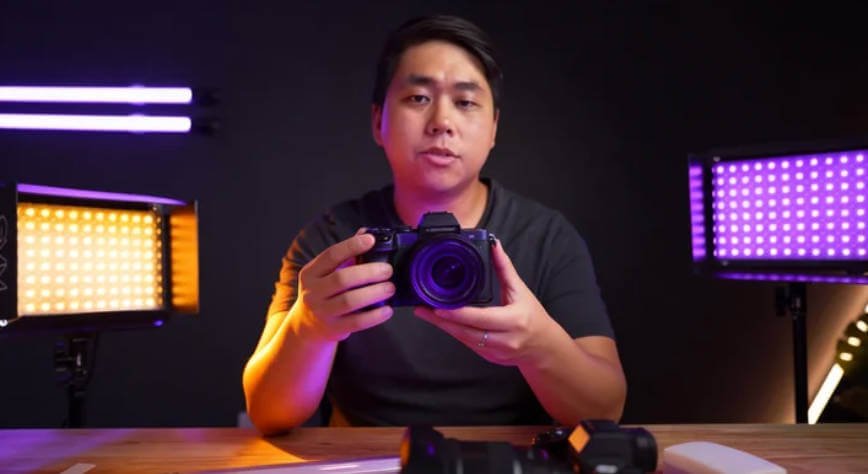
- Use Long Lenses: If you’re filming on a high-end iPhone, try using the telephoto lens. Standing further back reduces perspective distortion, ensuring the subject’s features look natural and flattering.
- Control the Spill: If you use an rgb video light for the background, consider a barndoor kit to prevent that colored light from spilling onto your subject’s face.
Final Thoughts
Transitioning from a basic ring light to a multi-point rgb video light system is the single biggest step you can take toward professional production value. Whether you choose the power of a GVM 1000 kit or the refined ecosystem of Amaran, the goal is to have enough control to shape your “Light and Shadow” exactly how you want it.