By Lucas Gray | Professional Gaffer & Founder of StudioLights.org
In the filmmaking world, there is a painful truth: a $50,000 camera cannot save a poorly lit scene. I’ve seen countless creators invest in the latest sensors only to produce footage that looks “flat” or “amateurish.” Why? Because they are focused on illuminating the room rather than shaping the story.
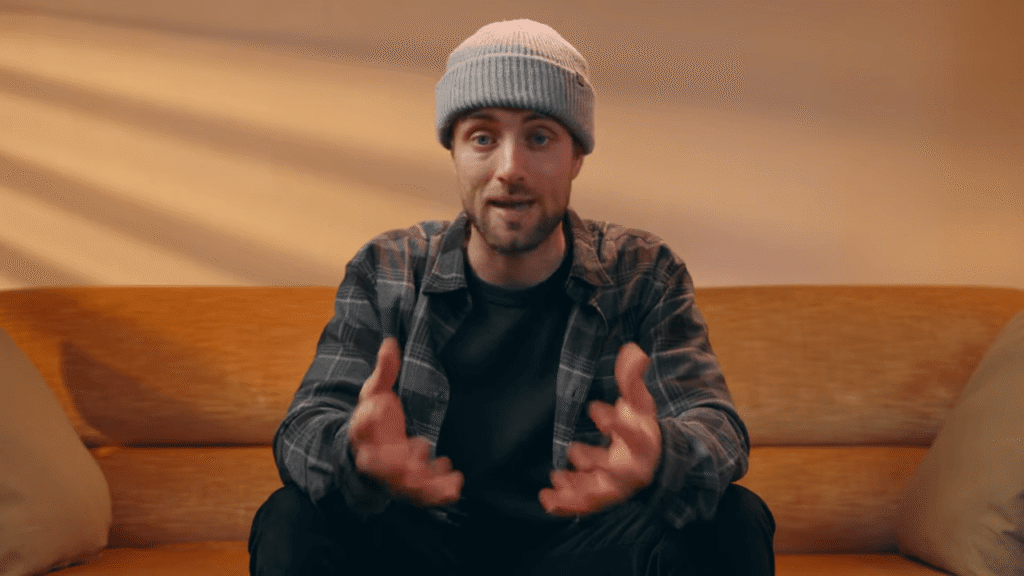
In a recent deep dive with professional gaffer Andy Day, we looked at the “raw” versus “cinematic” landscape. The secret isn’t just having a powerful video light; it’s knowing how to manipulate it. Whether you are filming a moody noir or a high-energy vlog, here is the gaffer’s roadmap to creating a world-class atmosphere.
1. The “Raw” Truth: Why Flat Lighting is the Enemy
When you walk onto a set and only use the existing window light or a single video light pointed directly at your subject, you are creating what we call “Flat Lighting.”
The Problem with Zero Shadows
Flat lighting occurs when the key light comes from the same direction as the camera lens. While it ensures your subject is visible, it removes all definition. As Andy Day demonstrates, it wipes out the contours of the face, making the scene feel two-dimensional and “boilerplate.”
Lucas’s Pro Tip: The 45-Degree Rule
To instantly upgrade your look, move your video light 45 degrees to the side of your subject. This introduces shadows that define the jawline and nose, creating immediate depth and mystery.

2. The Logic of Justification (Motivated Lighting)
One of the most profound lessons from Andy Day’s masterclass is the concept of Justification. In a professional production, light shouldn’t feel like it’s coming from a tripod—it should feel like it belongs in the world of the story.
- Context is Everything: If you are in a bar at sunset, your light should feel like it’s coming from the windows or the neon signs.
- Respect the Location: If the lighting is too intense or comes from an impossible angle, the audience loses immersion.
When setting up your video light, ask yourself: “What is the ‘motivated’ source in this room?” Then, use your gear to reinforce that reality rather than fight it.
3. The Gaffer’s Toolkit: Shaping the Beam
Professional lighting is as much about where you don’t put light as where you do. To turn a standard video light into a cinematic tool, you need to control its “field of play.”
Silks (Diffusion)
A raw LED can be harsh. By placing a Silk in front of your light, you diffuse the intensity. This creates a soft, flattering wrap around the subject’s face, fading gently at the edges of the shadows.
Grids (Directionality)
If your light is “spilling” onto the background and ruining your mood, you need a Grid. These honeycomb attachments force the light into a narrower, more directed beam. It allows you to light the actor without accidentally lighting the wall behind them.
Flags (The Power of Negative Fill)
Sometimes the smartest move isn’t adding a light, but using a Flag. Flags are black panels used to “cut” light. If you have unwanted double shadows or too much bounce, a flag allows you to remove light without moving your fixtures.
4. Building 3D Depth: Separation and Fill
To achieve that “pop” seen in big-budget films, you need to think in layers.
- The Key Light: Your primary source of illumination.
- The Backlight (Rim Light): This is a video light placed behind the subject. It creates a thin “halo” or highlight around the head and shoulders, physically separating the actor from the background. Without this, your subject will blend into the darkness.
- The Fill Light: This manages the shadows. If you want a “Noir” look, keep the fill low. For a natural, daytime look, use the fill to lift the shadows just enough to see detail without losing the shape of the face.
5. Practical Lights and Volumetric Atmosphere
“Practical lights” are the lamps actually seen on camera—desk lamps, hanging pendants, or bar signs. A gaffer uses these to “anchor” the scene.
The Danger of Top and Underlighting
Andy Day warns against unintended Top Lighting (which creates “raccoon eyes”) and Underlighting (which looks “creepy” and unnatural). However, if your location has hanging bar lights, you can “motivate” a top-down source by pulling your professional video light forward to soften those harsh nose shadows.
Volumetric Lighting with Haze
If you want your light to have “texture,” you need a Hazer. By adding a light fog to the room, the air itself becomes a canvas. This creates volumetric lighting, where you can literally see the beams of light. It adds a physical glow to the environment that is impossible to replicate in post-production.
6. Color Psychology: The Hidden Narrative
Color isn’t just aesthetic; it’s information.
- The Urban Vibe: Using pink and blue gels on your video light can simulate the neon hum of a city night.
- The Menacing Tone: Hitting a character with a sharp Red Light immediately signals danger or sinisterness to the audience.
By choosing specific color temperatures, you tell the audience how to feel before a single line of dialogue is spoken.
Conclusion: Intentionality is the Ultimate Gear
As Andy Day concludes, lighting is not a set of steadfast rules—it is a collection of tools designed to tell a story. Whether you are using a $10,000 professional rig or a single budget-friendly video light, the goal remains the same: Intention.
Every shadow you cast and every highlight you create should serve the script. Stop trying to “light the room” and start trying to “shape the mood.”