This is Lucas Gray. I’ve spent over a decade on professional film sets, and if there’s one thing I can tell you, it’s this: Camera gear is a secondary expense. Lighting is your primary investment.
I see creators all the time spending $4,000 on a new mirrorless camera, only to film in a room with a single overhead ceiling fan light. The result? They look like they’re filming in a basement. On the other hand, I can take a $500 smartphone, light the scene correctly using the principles of Depth and Motivation, and make it look like a Netflix original.
In this masterclass, we are going to dive deep into how to get good lighting for videos. Forget the “auto” settings on your ring light; we’re talking about the physics of light.
1. The Three-Point Lighting System: The Foundation
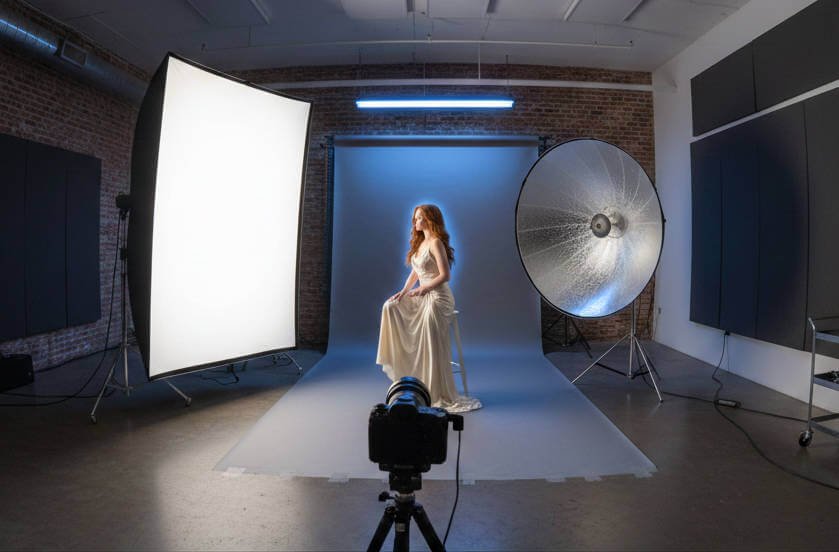
The three-point lighting setup is the “Old Reliable” of the industry. It’s the starting point for 90% of the interviews, YouTube videos, and commercials you see. It’s designed to create a 3D subject in a 2D medium.
The Key Light (The Star of the Show)
The Key light is your primary light source. It should be your brightest and highest-quality light.
- Placement: Place it at a 45-degree angle from your subject and slightly above eye level.
- The Secret: Use a large softbox. The larger the light source, the softer the shadows on the skin. If the light is too “hard,” it will emphasize every pore and wrinkle.
The Fill Light (Managing Shadows)
If you only have a Key light, the other side of your face will be pitch black. The Fill light “fills” in those shadows.
- Intensity: It should be significantly dimmer than your Key light (usually about 25%–50% of the intensity).
- Alternative: If you don’t have a second light, use a white foam board or a reflector to bounce the Key light back onto your face.
The Back Light (Creating Separation)
Also known as the “Hair Light” or “Rim Light.” This light sits behind you, out of the frame, and points at the back of your head or shoulders.
- Purpose: It creates a thin rim of light that “cuts” you out from the background. Without it, you blend into the wall, and the image looks “flat.”

2. Lighting Texture: Hard vs. Soft Light
One of the most important concepts for how to get good lighting for videos is understanding Texture.
- Hard Light: Think of the sun on a clear day. It creates sharp, defined shadows. It feels aggressive, masculine, and high-contrast. Use this for dramatic storytelling or “gritty” looks.
- Soft Light: Think of a cloudy day. The light is diffused, and shadows are blurry and gentle. This is almost always the preferred choice for “talking head” videos because it is flattering to the human face.
Pro Tip: To soften a light, don’t just dim it. Pass it through diffusion material (like a silk sheet or a professional softbox). The closer the diffusion is to your face, the softer the light becomes.

3. Creating Depth and Dimension
A common mistake is filming right against a flat wall. This is a “depth killer.” To get professional results, you need to create spatial layers.
The Foreground, Midground, and Background
You are the midground. To create depth, try to have at least 6–10 feet of space behind you.
- Background Lighting: Don’t let your background go dark. Use Practical Lights—lamps, LED strips, or even the sun coming through a window—to illuminate the space behind you.
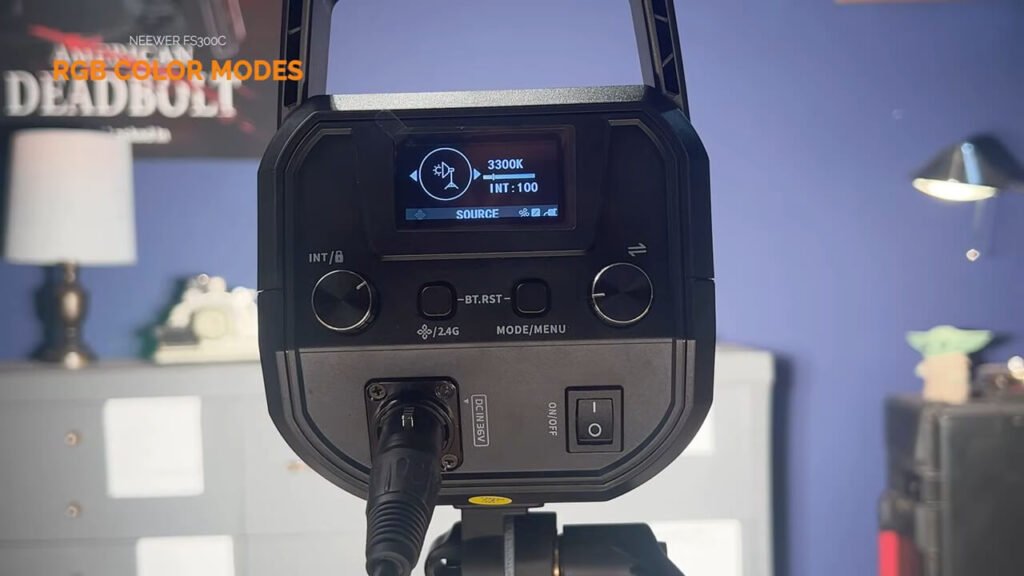
- Color Contrast: Use a different color temperature for your background than your face. For example, use a warm 3200K lamp in the background and a cool 5600K daylight source on your face. This “Teal and Orange” logic creates instant cinematic depth.
4. Motivated Lighting: The Logic of Light
In cinematography, we talk about Motivated Lighting. This means every light in your frame should have a logical reason for existing.
If your face is lit with a bright blue light, but there is no window or computer screen in the shot, the audience’s brain will feel that something is “wrong.”
- Example: If you have a desk lamp on your left side in the shot, your Key light should come from that same direction. This makes the lighting feel organic and “real.”
5. Controlling the Reflection: The “Catch Light”
The difference between a subject that looks “alive” and one that looks “dull” is the Catch Light. This is the small reflection of the light source in your pupils.
Without a catch light, eyes look like “shark eyes”—dark and soulless. To get a good catch light, ensure your Key light is at eye level or slightly above and reflected clearly in the cornea. If you are using a ring light, this is the circular reflection you see. If you are using a softbox, it will be a soft square or rectangle.

6. Managing the “Time of Day”
Lighting isn’t static; it changes with the clock.
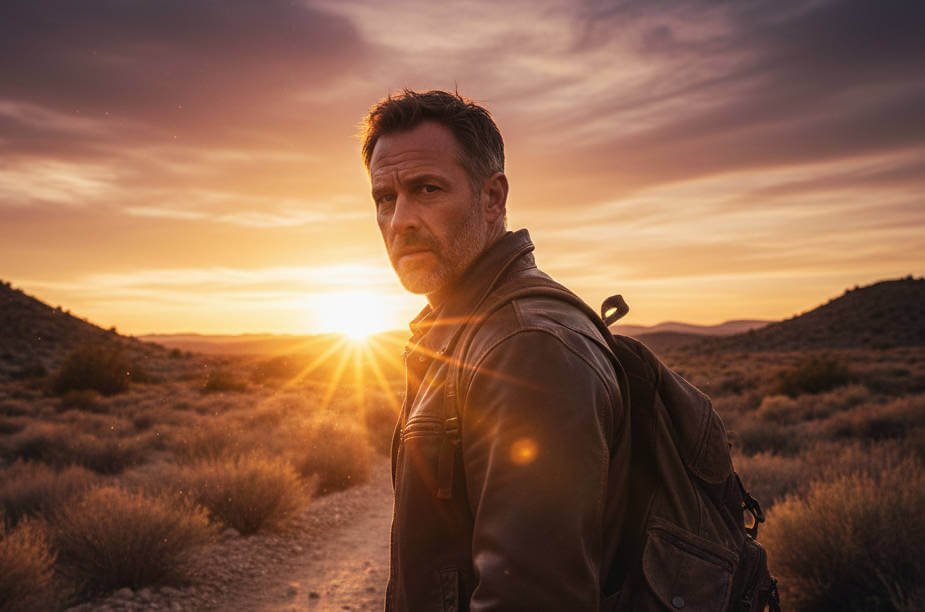
- The Golden Hour: The hour after sunrise and before sunset. The light is soft, warm, and golden. It’s the most beautiful natural light you can get.
- The Blue Hour: Just after the sun sets. The sky turns a deep, cinematic blue. This is great for “moody” or tech-focused videos.
- High Noon: Avoid filming outside at noon. The sun is directly overhead (Top Light), creating “raccoon eyes” with deep shadows in the eye sockets and under the nose.
7. Essential Gear Recommendations for 2026
You don’t need a Hollywood budget, but you do need reliable tools. Here is what I recommend for how to get good lighting for videos this year:
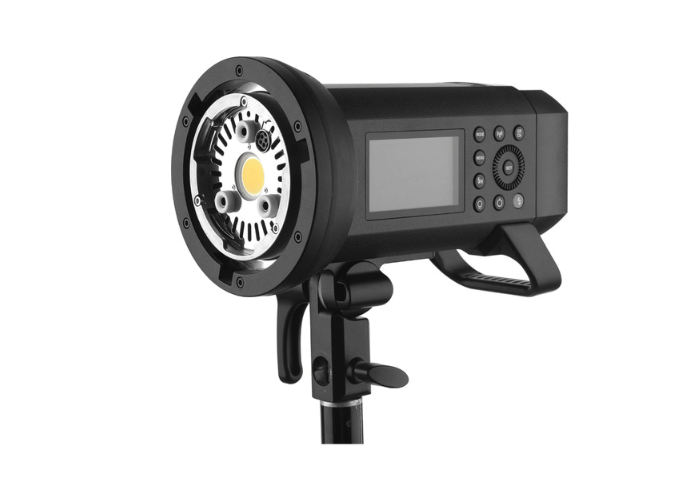
- COB LED Lights (The Workhorse): Lights like the GVM SD200B or Godox VL series are essential. They are daylight-balanced, dimmable, and allow you to attach modifiers like softboxes.
- C-Stands: Don’t use cheap, flimsy tripods. A C-Stand is heavy and stable, allowing you to “boom” a light directly over your head safely.
- Black Foam Boards (Negative Fill): Sometimes the best lighting is “no lighting.” If your room is too bright and bouncy, place a black board on the side of your face opposite the Key light to “suck out” the light and create a more dramatic shadow.
8. The 3-Step Practical Workflow
If you’re feeling overwhelmed, follow this simple checklist every time you hit record:
- Kill the House Lights: Turn off all overhead ceiling lights. They are usually ugly, flickering, and have poor color accuracy.
- Set Your Key: Place your main softbox 45 degrees to the side. Adjust the height until you see a nice Catch Light in the eyes.
- Balance the Background: Turn on a desk lamp or a background LED strip. Look at your monitor—does the background feel “separated” from you? If not, move the light or change its color.
Summary
Getting good lighting for videos is a skill that evolves with practice. It is about understanding the relationship between the light source, the subject, and the shadows. Remember: Shadows define the shape. If you eliminate all shadows, you eliminate all professional quality.