At StudioLights.org, I constantly see the same struggle: a passionate creator buys the most expensive gear, sets it up in their spare bedroom, and ends up with flat, “amateur” looking photos. The truth is, lighting for home studio environments isn’t about having the most power; it’s about managing the constraints of your space.
Whether you are photographing your family, your pets, or professional headshots, you are likely battling 8-foot ceilings and limited floor real estate. Based on our latest field tests and community feedback, here is the definitive guide to mastering a 2-light setup that delivers high-end results in a low-budget space.
1. Choosing the Right Flash: Why “More” Power Can Be a Trap
When researching lighting for home studio setups, the temptation is to buy a 600W strobe because “it’s only a few dollars more” than a 400W unit. As a gaffer, I’m here to tell you: too much power is often a bigger headache than too little.
The Minimum Power Problem
In a small room, your lights are physically close to your subject. If you use a Godox DP600III-V, its minimum power (1/64) is roughly 9W. In a bedroom with white walls, 9W of flash is still incredibly bright.
- The Conflict: If you want to shoot with a shallow depth-of-field (like $f/2.8$ for a soft background), a 600W light will often overexpose your shot even at its lowest setting.
- The Solution: For most lighting for home studio scenarios, a 300W or 400W unit (like the Godox MS300V or DP400III-V) is the “sweet spot.” It allows you a lower minimum output, giving you more creative control over your aperture.
2. Shaping the Light: The Efficiency of the Rectangular Softbox
Choosing the right modifier is critical when optimizing lighting for home studio spaces. While large Octagonal softboxes (Octas) are famous for beautiful round catchlights, they are “space hogs” that are difficult to maneuver in a tight corner.
The Case for Rectangles
A medium-sized Rectangular Softbox (approx. 32″ x 40″) is often superior for home use.
- Space Saving: They sit flatter against walls, giving you more room to move.
- Feathering Control: Rectangles are easier to “feather”—a technique where you aim the edge of the light at the subject. This allows you to illuminate the person while keeping the light from “spilling” onto your background, which is essential for creating a moody, dark-background look.
- Speed of Setup: Look for “quick-release” models like the SmallRig LA-090. If your “studio” has to double as a guest room, being able to tear down in 60 seconds is a mandatory feature.
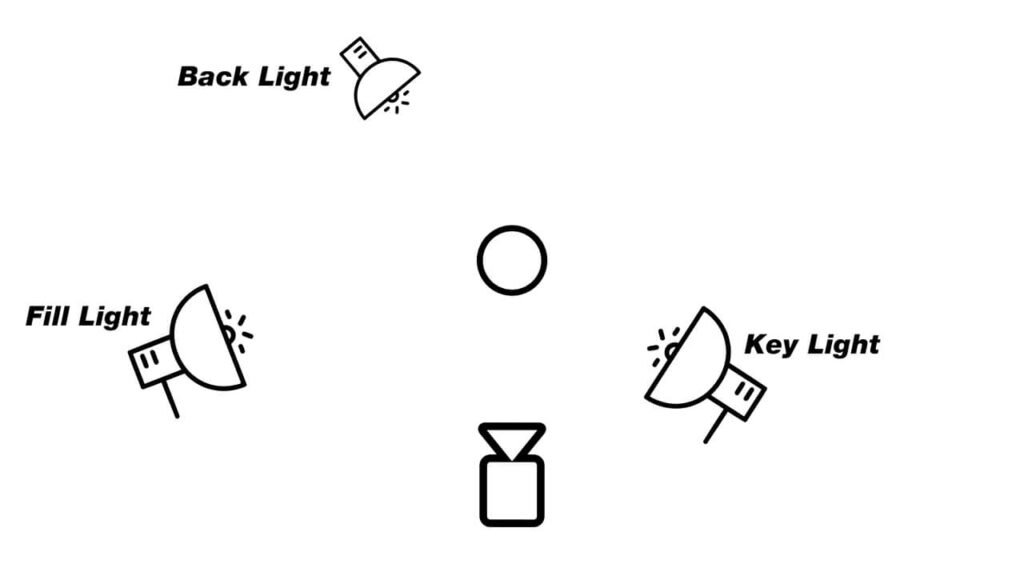
3. The 2-Light Setup: Key Light + Rim Light
A professional lighting for home studio setup doesn’t require five lights. You can achieve 90% of “the look” with just two.
- Light 1 (The Key): This is your main strobe in the rectangular softbox, placed at a 45-degree angle to the subject.
- Light 2 (The Rim): Don’t waste money on a second large strobe. Use a speedlight like the Godox V1. Positioned behind the subject, it creates a “rim” of light that separates them from the background.
Lucas’s Gaffer Note: You must use a honeycomb grid on your rim light. Without it, the light will flare into your camera lens or wash out your background. The grid keeps the light surgical and precise.
4. Troubleshooting: Modeling Lights and the “AF Struggle”
The most common complaint I hear about lighting for home studio work is: “My camera won’t focus!” If you turn off all the room lights to get a “pure” flash exposure, your camera’s autofocus (AF) sensor is essentially blind.
- The Secret: Leave your strobe’s Modeling Light on. Modern COB-style modeling lights (like those on the “V” versions of Godox strobes) provide enough continuous light for your camera to lock focus instantly without affecting the final flash exposure.
Managing the Iris
In total darkness, a subject’s pupils (human or cat!) will dilate. This often results in a “scary” or “alien” look where the beautiful color of the eye is lost to a giant black pupil. Keeping your modeling lights or ambient room lights on forces the pupil to constrict, revealing the natural iris color and making your portraits feel more human.
5. The Physics: Mastering the Inverse Square Law
In a small studio, every inch matters because of the Inverse Square Law:
$$E = \frac{I}{d^2}$$
This means that if you move your light from 2 meters away to 1 meter away, the light doesn’t just get twice as bright—it gets four times as bright. When lighting for home studio setups, small movements yield big results. Use this to your advantage: move the light closer for softer, more intense light, or further away for a more even (but harder) spread.
Conclusion: Start Small, Shoot Big
Mastering lighting for home studio isn’t about replicating a 5,000-square-foot warehouse; it’s about understanding light control. By choosing the right wattage, using space-efficient modifiers, and keeping your modeling lights on, you can produce images that are indistinguishable from high-end commercial work.