Natural light for food photography is the most powerful tool in a creator’s arsenal for producing organic, appetizing, and high-end commercial imagery. In 2026, where “authenticity” and “visual hunger” are the primary drivers of consumer engagement, mastering the qualities of soft, directional sunlight—or learning how to replicate it perfectly with technology—is what separates a simple snapshot from a world-class production. This comprehensive guide explores the physics of light, the gear required for the “Top 10” professional kits, and the techniques needed to maintain a bright, airy aesthetic even during the darkest winter months.
Why Natural Light for Food Photography is the Industry Standard
Before discussing the “how,” we must address the scientific and psychological reasons why natural light for food photography remains the gold standard in the culinary industry. Natural light offers a continuous spectral output that many artificial sources, especially legacy lighting systems, struggle to match.
The SSI and CRI Factor
In professional food styling, the rendering of reds and yellows is critical. Modern professionals no longer rely solely on CRI (Color Rendering Index); instead, they look at SSI (Spectral Similarity Index). Daylight has a perfect spectral curve, meaning the vibrant reds of a blood orange or the golden, flaky crust of artisanal bread are rendered with absolute fidelity. When you use natural light for food photography, you ensure that the “color memory” of the viewer is satisfied—the food looks exactly as the brain expects it to look in nature. This level of color accuracy reduces the need for heavy color grading in post-production, preserving the delicate textures of the ingredients.
The Psychological Impact of “Freshness”
Light creates a sense of time and place. Soft, directional light mimics the feeling of a “just-served” meal at a sun-drenched bistro table. This emotional connection is vital for commercial assets. Whether it’s the glisten on a reduction sauce or the fine mist on a cold beverage, natural light highlights moisture and texture in a way that feels unforced and inviting.
how to create natural light for food photography
When a window isn’t available, or when you are shooting in the middle of a dark winter storm, you must know how to create natural light for food photography using artificial sources. The goal is to make the viewer believe the sun is doing the work.
The Large Source Principle
The fundamental rule of soft light is that the larger the light source is relative to the subject, the softer the shadows will be. To create the illusion of a window, professionals use high-output LED panels diffused through large silk scrims or professional softboxes. By significantly increasing the surface area of the light, you soften the hard edges of shadows and create the characteristic “wrap-around” effect. This looks indistinguishable from a north-facing window, which is the most coveted light source in food photography due to its consistent, indirect glow.
Balancing with Ambient Light
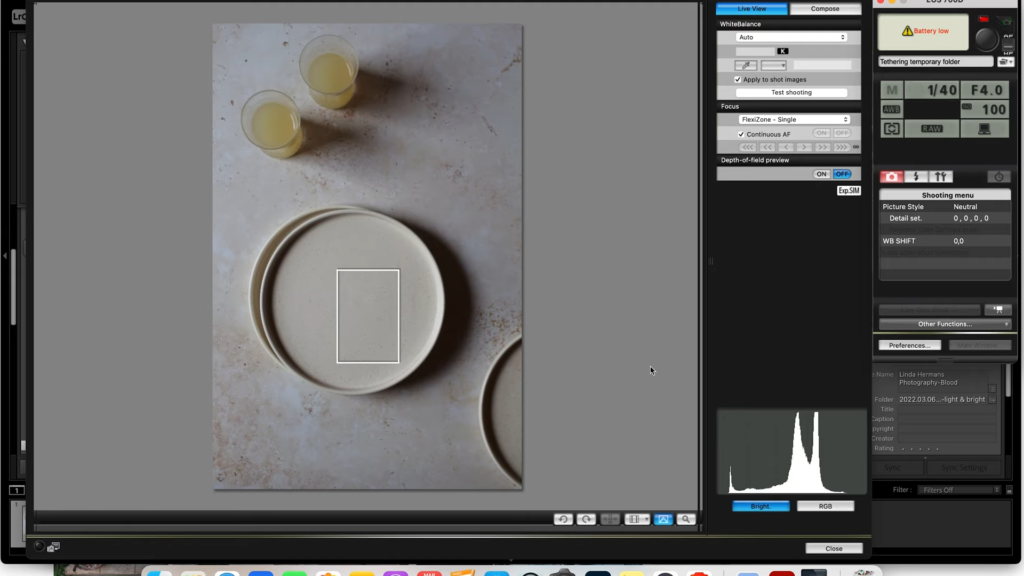
During winter, you might have some weak natural light, but not enough to expose correctly. Creating natural light in this scenario involves “supplementing” rather than “replacing.” By using a daylight-balanced LED lamp at a low intensity, you can fill in the gaps of a dark afternoon. Precision is key here; using fixtures with thousand-step dimming allows you to match the exact intensity of the fading sun, ensuring the artificial and natural light blend seamlessly.
how to use natural light for food photography
Mastering how to use natural light for food photography is essentially a study of directionality and observation. Light should never be an afterthought; it should be the first element placed in your composition.
Mastering the Angles
- Side Lighting (90°): This is the most popular angle in the culinary world. By placing the light to the left or right of the dish, you emphasize the “crumb” and texture of the food. It creates beautiful, soft shadows that give the food three-dimensional depth.
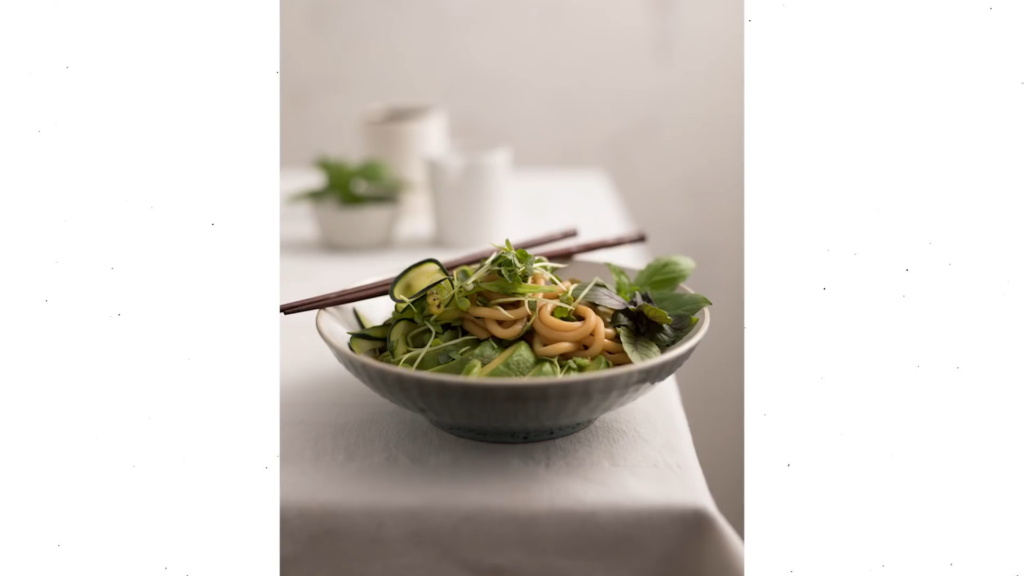
- Backlighting (180°): This is the “secret weapon” for liquids, salads, and steam. When light comes from behind the food, it makes soups and sauces look translucent and glowing. It also creates a “rim light” that separates the food from the backdrop, making it “pop” off the screen.
- The 45-Degree Angle: Often called “Rembrandt Lighting” for food, this provides a classic, balanced look that is the standard for most e-commerce and menu photography.
The Window Height Rule
A common mistake is placing the shooting surface below the window line. To effectively use natural light for food photography, the surface must be at the same height as the light source. This allows the light to wash across the top of the food rather than just hitting the sides, highlighting the garnishes and internal textures that make a dish look appetizing.
lighting setup for natural light food photography
A professional lighting setup for natural light food photography is a three-point ecosystem designed to control contrast and manage the “Airy” aesthetic.
1. The Key Source
This is your “sun.” It can be a large East-facing window (ideal for soft morning light) or a professional LED panel. In 2026, the Top 10 professional setups almost always include a high-precision LED source to ensure that the color temperature remains a constant $5600\text{K}$, regardless of the weather outside.
2. The Diffusion Layer
Diffusion is the act of “scattering” light. On a bright, sunny day, direct sunlight is too harsh for food—it creates “hot spots” (unattractive white glares) on oily or wet surfaces. A sheer fabric panel or a professional diffuser acts as a cloud, turning a harsh beam into a gentle, ethereal glow.
3. The Bounce Board (Fill)
In a natural light for food photography setup, shadows are necessary for depth, but “dead” shadows (pure black) are unattractive. A white bounce board (A4 size is perfect for tabletop) is placed opposite the light source to reflect light back into the shadows. This “lifts” the dark areas, maintaining the “light and airy” feel that is currently trending in food media.
natural light lamp for food photography
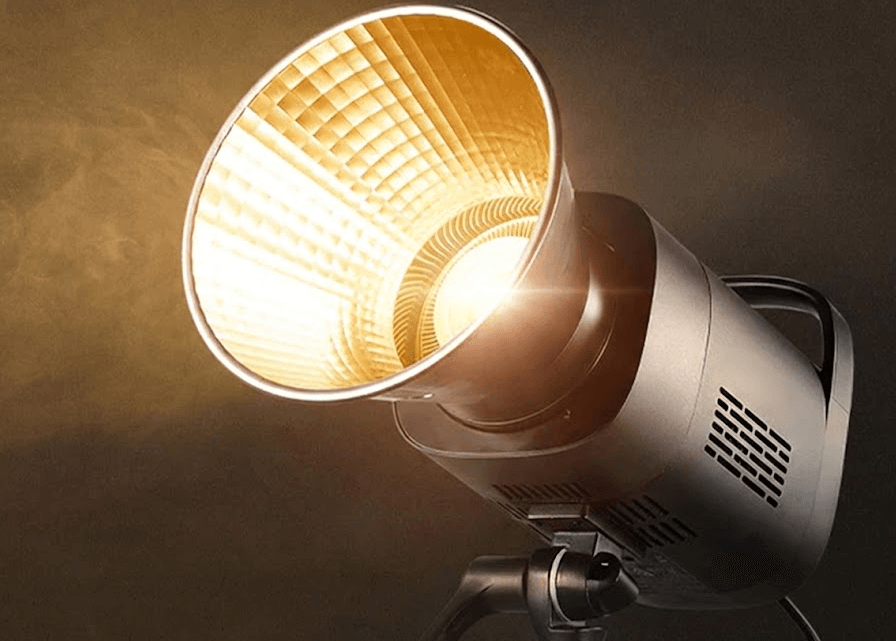
If you are building a professional studio, choosing a dedicated natural light lamp for food photography is a critical investment. Not all LEDs are created equal; food requires high spectral accuracy.
Essential Specifications
The modern professional looks for three things in a lamp:
- Color Temperature: A native $5600\text{K}$ (Daylight) balance.
- Color Rendering: A CRI of 97+ and a high SSI score.
- Control: Thousand-step dimming ($1/1000$). This level of precision is mandatory for food, as it allows you to micro-adjust the intensity to perfectly match the mood—from a “bright brunch” to a “moody dinner.”
High-performance models like the GVM 1000D or the remastered GVM 800D III have become staples in the Top 10 lists of 2026. These lamps utilize advanced internal circuitry and aluminum alloy heat dissipation to provide flicker-free, consistent output. Because they are designed with professional workflows in mind, they allow creators to maintain a clean, professional workspace while achieving a look that is indistinguishable from the sun. To see the full range of these professional tools, you can visit the official GVM LED Panel Series Page.
Mastering Contrast: Using Negative Fill in Natural Lighting
The final step in mastering natural light for food photography is knowing when to remove light. While the “Airy” look is popular, an image without contrast looks flat and “cheap.”
The Power of Black Foam Boards
“Negative fill” involves using black flags or boards on the side of the dish furthest from the light. Unlike a white board that adds light, the black board absorbs it. This deepens the shadows, creating a “cinematic” and moody layer to the composition. This is particularly useful when shooting “hero” shots of dark foods like chocolate, steaks, or hearty stews, where you want to emphasize the richness and density of the subject.
Avoiding the “Washed Out” Mistake
Over-diffusing is a common mistake. If your light is too soft and your fill is too bright, you lose the “directionality” of the natural light. By using negative fill strategically, you ensure that the viewer’s eye is drawn to the highlights of the food, creating a dynamic image that has both “pop” and professional polish.
Conclusion: Achieving Visual Brilliance Year-Round
Whether you are working with a vast window or a high-precision natural light lamp for food photography, the goal remains the same: to honor the ingredients. By understanding the physics of light, utilizing a sturdy tripod for those low-light winter exposures, and selecting props with matte finishes to avoid glare, you can create world-class food imagery in any environment.
In 2026, the best creators are those who don’t just “take” a photo; they “craft” the light. By investing in the Top 10 professional tools and mastering the nuances of diffusion and bounce, you ensure that your work remains a benchmark of authenticity and visual hunger.
For more technical insights into the hardware that powers these setups, explore the GVM LED Panel Series Page.