If you are serious about image quality, the difference between a snapshot and a photograph almost always comes down to light. Pro photo lights are the continuous-light systems working photographers reach for when they need repeatable, color-accurate results — whether shooting products on a tabletop, portraits in a small studio, or editorial work on location. This guide breaks down what “pro” actually means, which light types earn their place in a kit, and how to match wattage, mount, and modifier to your real shooting scenarios.
The short version: a professional photo light is a high-CRI continuous LED (COB or panel) with a standard Bowens mount, stepless color temperature, and enough output to let you stop down or soften the light without raising ISO. Below, we cover the five categories that matter most, then show a build you can assemble today.
Table of Contents
Photography Lighting: The Foundation
Photography lighting is not one product — it is a system. At the core you want a key light with predictable output and faithful color, because every other light in the frame is judged against it. For stills, continuous light has a big advantage over flash for many shooters: what you see is what you get. You can shape shadows with your hands before the shutter fires, and videographers who also shoot stills can use the same fixture.
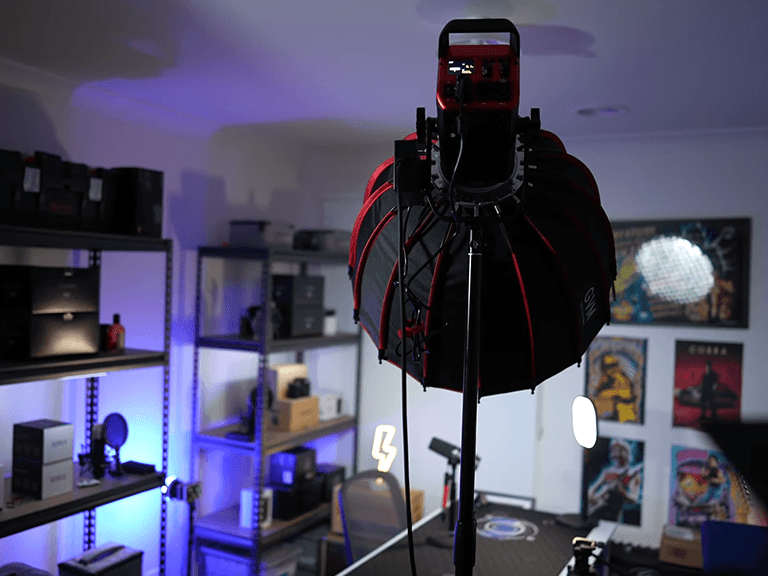
A pro key light should deliver at least 45,000 lux at one meter and hold a CRI/TLCI of 97 or higher. That combination lets you light a subject at f/8 with a softbox and still keep the background clean. GVM’s PRO SD200B (200W COB, 45,400 lux @1m, Bowens mount) is a textbook example: dual-color 2700K–6800K, silent fan, and app control, all in a body that fits a beauty dish or a 24-inch softbox.
When you build from a strong key, everything else becomes support. A fill panel lowers contrast, a rim light separates the subject, and a small RGB unit adds accent. The foundation is one trustworthy light — not five mediocre ones.
Panel Lighting for Even Fill
Panel lighting earns its spot the moment you need soft, evenly spread fill that does not eat your setup time. A flat LED panel throws a broad, low-shadow wash that is perfect for filling the shadow side of a face or lifting a product table without hotspots. Unlike a bare COB, a panel needs no modifier to look clean at close range.
The trade-off is throw distance: panels lose intensity faster than focused COB lights, so they shine in small studios and tabletop work. The GVM FA300B (300W panel monolight, ~71,400 lux @1m, Bowens mount, ~$299) bridges both worlds — it is bright enough to act as a key yet flat enough to sit close as fill. For travel and quick social shoots, the GVM 800D III (40W RGB panel, 3200K–5600K + full HSI, CRI/TLCI 97+) is the pocketable option that still matches your key’s color.
Use panel lighting when the goal is “make this look clean and even,” and reach for a COB when the goal is “make this look dramatic.”
Professional RGB Light for Creative Looks
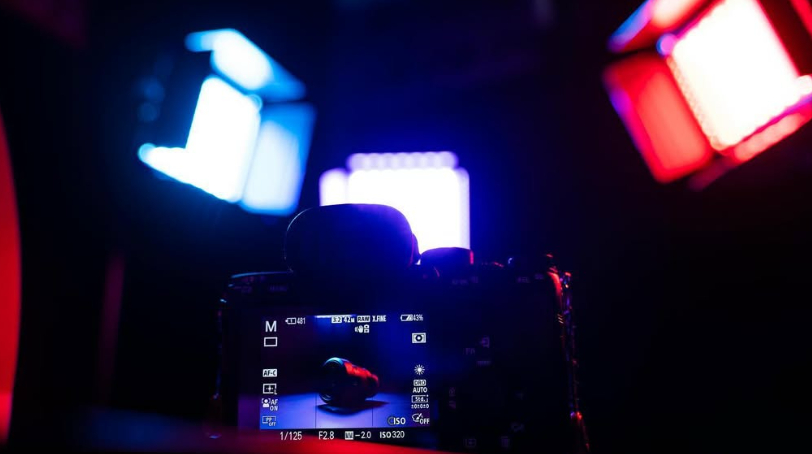
A professional RGB light is no longer a gimmick — it is a second toolset. Full HSI control lets you paint backgrounds, simulate neon, or match a practical lamp in the scene without gels. For commercial and editorial work, that saves hours in post.
The GVM SD300C AIO (300W all-in-one RGB COB, ~13,300 lux @1m, six modes: CCT / HSI / RGB / Gel / Source / FX, ~$399) puts 2000K–10000K and 16 effects in a single housing. Pair it with the 600W YU600C RGB panel when you need a large colored wash for a set. Keep one rule: use RGB for accent and background, keep your key white and accurate. Viewers forgive a purple rim; they do not forgive a magenta skin tone.
RGB also future-proofs the kit. As clients ask for “that colorful look,” you already own the lights to deliver it.
Lighting Panel for Compact Setups
Not every job has a studio. A lighting panel built for compactness is the difference between bringing one light and bringing none. Look for thin profiles, onboard battery or V-mount support, and app control so you are not crawling behind a stand mid-shoot.
The 800D III (10.6 × 10.3 × 1.5 in, Bluetooth app, 20 effects + 8 scene modes) is the embodiment of this category — small enough to velcro to a wall, bright enough to key a talking-head at three feet. For a step up in output without a step up in size, the FA300B panel keeps the footprint manageable while nearly doubling usable intensity. Compact panels are also the safest choice for run-and-gun interviews where a hot COB and a swinging modifier are a liability.
If your work is 50% on location, make your first panel a compact one, then add a COB for the days you are anchored.
Box Lights & Softboxes for Portraits
Box lights — a COB or panel paired with a softbox — are the portrait photographer’s default for a reason: a large, diffused source flattens skin texture and wraps light around the face. The modifier matters as much as the light. A 24-inch quick-deploy softbox on a 200W COB gives you a soft key; a 26-inch lantern gives you even 360-degree fill for group shots.
For portraits, start with one box light as key and one panel as fill, then add a rim. The PRO SD200B + Quick Deploy Softbox 24″ is a proven combo; the DL65R Lantern 26″ on the same head turns a tight space into a soft, open room. Remember: softness comes from source size relative to the subject, not from wattage. A 200W light in a big box beats a 600W light bare every time for skin.
Pro Photo Light Specification Comparison
| Model | Type | Watt | Output @1m | CCT / Color | CRI | Mount | Role |
|---|---|---|---|---|---|---|---|
| GVM PRO SD200B | COB Bi-Color | 200W | 45,400 lux | 2700K–6800K | 97+ | Bowens | Key light |
| GVM SD300C AIO | RGB COB | 300W | 13,300 lux | 2000K–10000K / HSI | 97+ | Bowens | Creative key |
| GVM FA300B | Panel Monolight | 300W | 71,400 lux | 2700K–6800K | 97+ | Bowens | Bright key / fill |
| GVM 800D III | RGB Panel | 40W | 2,930 lux | 3200K–5600K + RGB | 97+ | — | Compact fill / accent |
All four share app-based control and 97+ color fidelity, so they mix in the same frame without color shifts.
Build Your Pro Setup
Pro photo lights are not about owning the most fixtures — they are about owning the right ones. Start with one accurate COB key (PRO SD200B), add a compact panel for fill (800D III), and reach for the SD300C AIO when a job calls for color. Each light here shares 97+ CRI and app control, so your kit stays consistent as it grows.
Explore the full GVM LED lighting collection to configure your setup, or read our LED studio lights guide and professional RGB light breakdown to go deeper on each category.