Stream lighting is the difference between a feed that looks like a webcam afterthought and one that feels like a produced show — and most streamers underestimate how much it affects whether people stay past the first ten seconds. Viewers make a snap judgment about production quality before they ever hear a word you say, and a muddy, unevenly lit face is often the reason a new viewer clicks away. This article breaks down why lighting matters more than most gear upgrades, how to choose the right setup, and a real configuration you can copy.

why stream lighting matters for viewer retention
A stream’s video quality is judged almost entirely by lighting, not resolution. A 1080p feed with flat, even, color-accurate light will look more professional than a 4K feed lit by a single overhead bulb casting shadows under the eyes. Poor lighting also makes skin tones look sickly or washed out, which subconsciously reads as “amateur” to a scrolling viewer. On platforms where thumbnails and preview clips are the first impression, consistent, flattering light is one of the highest-leverage upgrades a streamer can make — often more impactful than a camera or microphone upgrade of the same price.
natural light vs LED lighting for streaming
Relying on a window is tempting because it’s free, but natural light shifts constantly through the day — a 2 PM stream looks completely different from a 6 PM one, and cloud cover can change your exposure mid-broadcast. Dedicated LED lighting solves this by giving you a fixed, repeatable color temperature and brightness every single session, so your channel has a consistent visual identity. LEDs also let you dial in daylight-balanced tones (around 5600K) that match most webcams’ white balance settings, avoiding the orange or blue color casts that come from mixing lamp light with monitor glow.
how to choose the right stream lighting setup
When shopping for a light meant to sit beside a desk or capture card setup, prioritize three things: color accuracy (a CRI of 95 or higher keeps skin tones natural), stepless dimming (so you can match brightness to your room without harsh on/off jumps), and quiet operation (a loud fan will bleed into your mic during a quiet moment). Mount compatibility also matters if you plan to add a softbox later — a standard Bowens mount opens up far more modifier options than a proprietary fitting. Size and weight are worth checking too, since most streaming desks don’t have room for a large studio fixture.
best lighting equipment for streamers
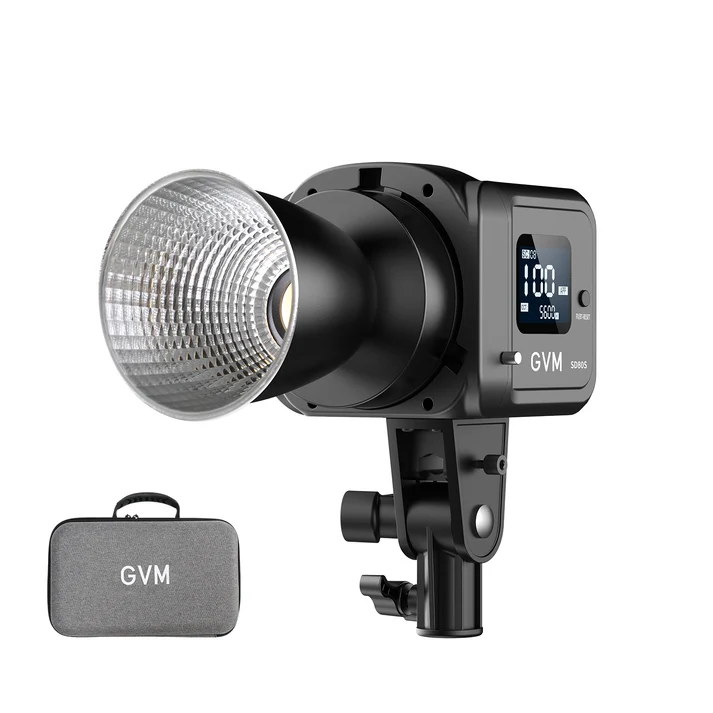
The GVM-SD80S is a fixed 5600K COB LED light built for exactly this use case: consistent daylight color, quiet operation, and simple wireless control without a full studio budget.
| Feature | Spec | Why it matters for streaming |
|---|---|---|
| Color Temperature | Fixed 5600K (±200K) | Matches typical webcam/camera daylight white balance |
| CRI / TLCI | ≥97 / ≥97 | Natural, accurate skin tones on camera |
| Dimming Range | 0.1%–100%, stepless | Fine-tune brightness to match your room without flicker or jumps |
| Cooling | Silent below 60°C, ≤30dB @1m | Won’t bleed into your mic during quiet moments |
| Control | On-body knob + app via Bluetooth (50m) | Adjust brightness from your chair mid-stream |
| Mount | Standard Bowens S | Add a softbox later without buying a new light |
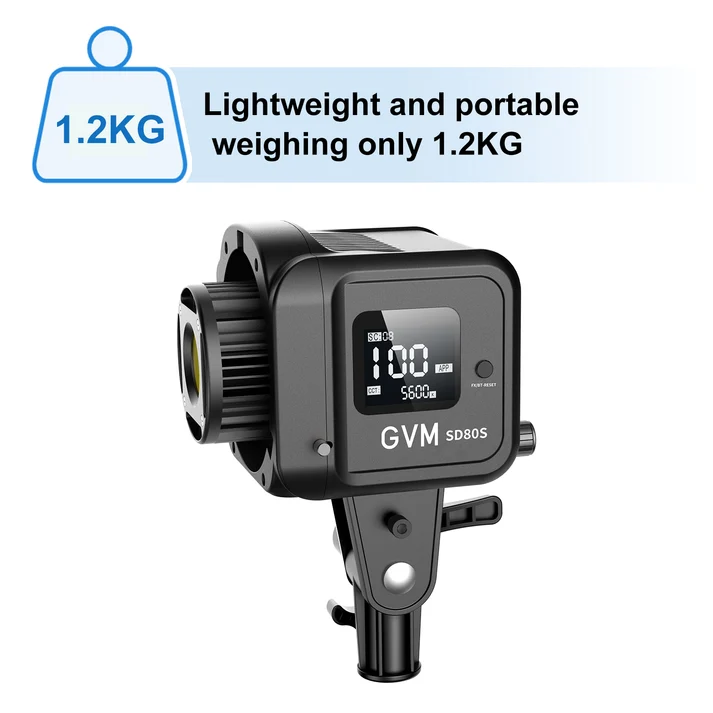
| Weight | ~1.2 kg | Fits on a small desk arm or lightweight stand |
Rather than fighting with room lamps or a ring light that casts a visible catchlight ring in your glasses, the SD80S gives streamers a single, adjustable key light that stays consistent stream after stream — and the app control means you can nudge brightness without leaving your seat mid-clip.
Hands-On Notes
Tested by our video production team over two weeks of daily streaming sessions in a small home studio. In practice, the on-body knob was faster to reach mid-stream than pulling out a phone for the app, though the app becomes genuinely useful once you’re running more than one light and want to sync brightness across both from a single screen. The fan stayed silent through roughly 90 minutes of continuous use in a warm room before kicking in briefly, and even then it wasn’t picked up by a cardioid mic positioned a foot away.
Pros
- CRI 97+ made skin tones look consistent across different times of day, with no need to color-correct footage afterward
- Stepless dimming meant brightness could be nudged in small increments instead of jarring steps
- Bowens mount meant an existing softbox worked immediately with no adapter needed
Cons
- Fixed 5600K only — no bi-color or warm-tone option if your setup needs a cozier look
- NP-F batteries aren’t included, so outdoor/portable use requires a separate purchase
- The LCD readout is small and can be hard to read from a normal desk distance without leaning in
Mini Case Study: Solo Variety Streamer, Small Bedroom Setup
A variety streamer broadcasting from a 3m x 3m bedroom was getting recurring viewer comments about looking “washed out” under an overhead ceiling fixture. The setup: one GVM-SD80S mounted on a 5/8″ desk arm, positioned about 1 meter from the streamer at a 45-degree angle to the camera, slightly above eye level and angled down about 15 degrees to avoid harsh shadows under the brow.
The adjustment process:
- Set color temperature reference to the fixed 5600K output and matched the webcam’s white balance to “daylight” instead of auto, eliminating a slight green tint that had been present under the old ceiling light.
- Started brightness at 40% using the stepless dial while monitoring the webcam preview, then increased to 62% once the desk lamp in the background was turned off — bright enough to fill shadows without blowing out highlights on pale skin.
- Used the GVM app to save this 62% setting as a preset, so it could be recalled instantly rather than re-dialed in at the start of each stream.
- For late-night streams when only a bias light was on behind the monitor, dropped the SD80S to 35% via the app without leaving the chair, keeping exposure consistent even as ambient room light dropped.
After the change, viewer comments about “harsh shadows” and “yellow tint” stopped appearing in chat, and the streamer reported spending less time color-correcting VOD uploads afterward.
stream lighting on a budget
You don’t need a three-point studio setup to look professional — a single, well-placed key light solves most of the visible problems viewers actually complain about. Start with one light positioned slightly off-axis from the camera (avoid lighting straight-on, which flattens facial features), add a cheap clip-on bias light behind the monitor to reduce eye strain and background contrast, and only add a second light later if you’re doing green screen or want separation from the background. Prioritizing one accurate, adjustable light over two mediocre ones will get you further per dollar.
Conclusion
Good stream lighting isn’t about buying the most expensive fixture — it’s about consistent color, controllable brightness, and quiet operation that doesn’t fight your mic or your schedule. A single daylight-balanced key light solves the majority of complaints viewers actually raise about picture quality, and being able to dial it in from your phone removes the friction that keeps streamers from bothering to adjust it at all.
Ready to fix the lighting complaints in your chat? Explore the GVM-SD80S to get consistent, camera-ready color and quiet, app-controlled brightness for every stream.