Choosing the right lights for filming can make or break your video production. Whether you’re a beginner YouTuber, an indie filmmaker, or a seasoned content creator, understanding how lighting works — and which lights to use — is the single most impactful upgrade you can make to your setup. This comprehensive guide covers everything from the importance of filming lights to specific techniques and budget-friendly tips that deliver professional results.
How Important Is Lighting for Film?
When it comes to video production, lighting is everything. The best camera in the world cannot compensate for poor lighting. In fact, experienced cinematographers will tell you that a mid-range camera with excellent lights for filming will always outperform a high-end camera in bad light.
Lighting shapes the entire emotional tone of a scene. Warm, soft light evokes comfort, romance, and safety. Cool, harsh light suggests clinical detachment, tension, or danger. Shadows add mystery and depth, while flat, even illumination can feel sterile or amateurish. Every mood, every story, every character is communicated — consciously or not — through the quality and direction of light.
Beyond emotion, lighting affects how your audience perceives production value. Viewers may not be able to articulate why a video looks “cheap,” but in most cases, inconsistent or poor lighting is the culprit. Investing time and resources into the right lights for filming immediately signals professionalism, credibility, and visual polish.
For content creators, filmmakers, and videographers working in 2024 and beyond, lighting literacy is non-negotiable. Audiences have been trained by streaming platforms, high-budget YouTube channels, and social media to expect visually polished content. Meeting that standard starts with your light setup.
How to Make Lighting Look Cinematic?
Cinematic lighting is not about having the most expensive gear — it’s about understanding three foundational principles: contrast, direction, and motivation.
Contrast is the relationship between the light and dark areas of your frame. Cinematic footage tends to have a higher contrast ratio than flat video. This means embracing shadows rather than eliminating them. When every corner of your frame is evenly lit, the image loses dimension. The best lights for filming allow you to control this ratio with precision.
Direction transforms flat subjects into three-dimensional images. Side lighting sculpts facial features and creates depth. Backlighting separates your subject from the background and adds that distinctive “film look.” Top-down lighting adds drama. The angle and direction of your light sources should be a deliberate creative choice, not an afterthought.
Motivation is what separates cinematic lighting from random illumination. Every light source in your scene should feel like it belongs there — a window, a lamp, a street light outside. When your audience subconsciously accepts where the light is coming from, the scene feels real. When light appears from nowhere, it breaks immersion.
Practically speaking, achieving a cinematic look with your filming lights means using diffusion (softboxes, curtains, foam boards) to soften hard sources, positioning your key light off-axis, and adding subtle fill rather than flooding the scene with equal brightness from all sides.
Different Types of Lights for Filming
Understanding the different categories of lights for filming helps you build a versatile kit — whether you’re starting from scratch or upgrading an existing setup.
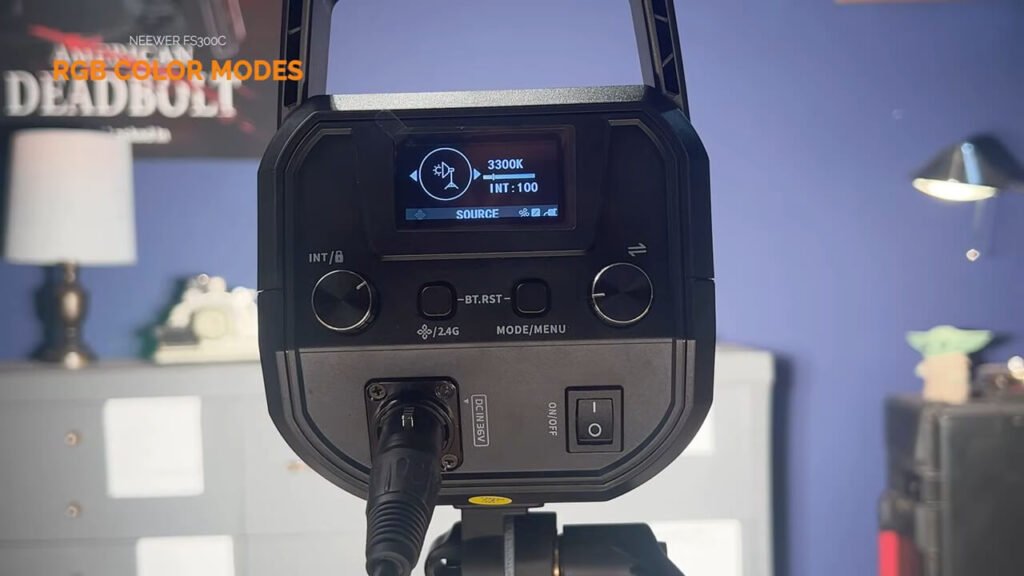
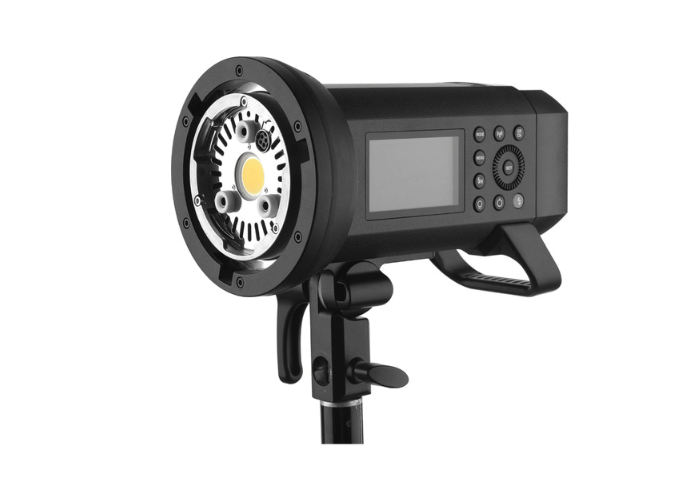
LED Panel Lights are the most popular choice for modern videographers. They are energy-efficient, portable, run cool, and many models offer adjustable color temperature (bi-color) or full RGB control. Brands like Aputure, GVM, and Neewer offer excellent options at various price points. LED panels work well as key lights, fill lights, or background accent lights.
Softboxes are not lights themselves but modifiers that attach to a light source to create soft, diffused output. They mimic the look of window light and are ideal for interviews, portraits, and any situation where flattering, even illumination is needed. A basic softbox kit with daylight bulbs is one of the most affordable ways to get professional-looking results.
Ring Lights became popular with beauty creators and vloggers. They produce even, shadow-free illumination and create a distinctive circular catchlight in the subject’s eyes. While ring lights are versatile and easy to use, they can look artificial in narrative filmmaking contexts where motivated lighting is preferred.
Fresnel and Spotlight Fixtures produce a focused, hard beam of light. These are useful for creating dramatic shadows, simulating sunlight coming through a window, or lighting specific areas of a set without spill. Hard light is a powerful tool when used intentionally.
Practical Lights are visible within the frame — desk lamps, neon signs, fairy lights, candles, TV screens. They add realism, atmosphere, and depth to any scene. Practical lights are especially valuable on a budget because they serve double duty: they look great on camera and contribute real, usable light to your scene.
HMI Lights are professional-grade, high-intensity lights typically used on large film sets. They produce daylight-balanced, powerful output but are expensive and require ballasts to operate. These are rarely necessary for independent or small-scale productions.
Cinematic Lighting Techniques With Examples
Knowing which lights for filming to buy is only half the equation. Here’s how to use them effectively with proven cinematic techniques:
Three-Point Lighting This is the foundational setup for professional video. Place your key light at roughly 45 degrees to the side of your subject, use a fill light opposite it at lower intensity to reduce shadow density, and add a backlight behind the subject to create separation from the background. This technique is used in everything from Hollywood blockbusters to professional interviews and product videos.
Rembrandt Lighting Named after the Dutch master painter, this technique uses a single key light positioned high and to the side, creating a small triangle of light on the shadowed cheek. It’s one of the most flattering and dramatic portrait lighting setups, achievable with a single LED panel or softbox.
Window Light Simulation Position a large softbox or LED panel beside your subject to replicate the look of natural window light. Add a reflector or white foam board on the opposite side to bounce light back and reduce shadows. This setup is budget-friendly, versatile, and produces consistently beautiful, cinematic results.
Split Lighting Place your key light directly to one side of your subject so that exactly half the face is illuminated and half is in shadow. Split lighting is bold and dramatic, often used in music videos, thrillers, and stylized portraits to convey duality or tension.
Silhouette Lighting Place a bright light source behind your subject and expose for the background. Your subject becomes a dark shape against a bright background — a powerful, visually striking technique that conveys mystery, scale, or drama. A window at golden hour or a simple backlight setup can achieve this effect easily.
Practical-Dominant Lighting Light your entire scene using only visible, motivated light sources — lamps, candles, neon signs. This approach creates deeply atmospheric, immersive footage. It requires careful exposure work and often benefits from boosting or supplementing practicals with a hidden, low-power LED, but the results look and feel unlike anything achievable with a standard three-point setup.
Cinematic Lighting Tips for Better Results
Whether you’re just getting started or looking to refine your existing workflow, these tips will immediately improve how your lights for filming perform:
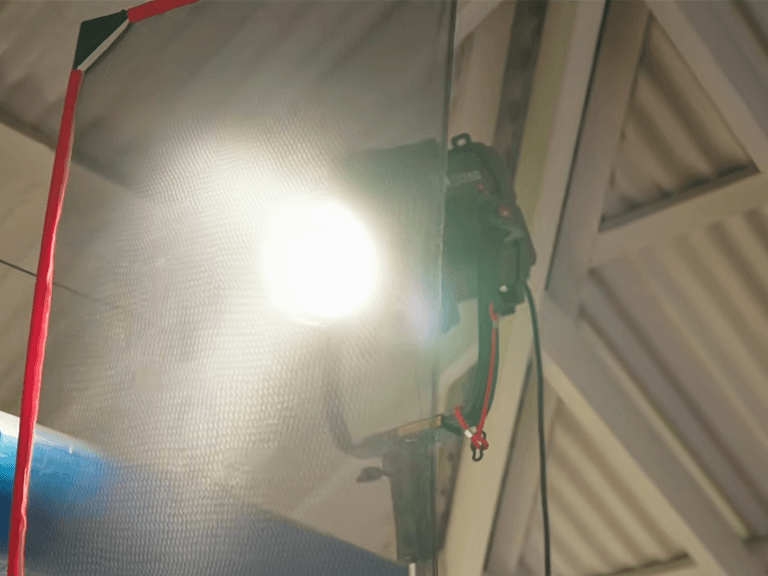
1. Always Diffuse Your Light Sources Bare bulbs and unmodified LED panels produce hard, unflattering light. Use softboxes, shoot-through umbrellas, diffusion paper, or even a white bedsheet to soften your output. Soft light wraps around your subject and produces a far more professional, cinematic look.
2. Control Spill With Flags and Black Boards Unwanted light spilling onto backgrounds or bouncing off walls can flatten your image and kill contrast. Use black foam boards, flags, or even black fabric to block spill and shape your light precisely where you want it.
3. Match Your Color Temperatures Mixing warm tungsten light with cool daylight creates an inconsistent, distracting look unless done intentionally. Check the Kelvin rating of your lights for filming and ensure they match — or deliberately create contrast for stylistic effect.
4. Use Golden Hour to Your Advantage The hour after sunrise and before sunset delivers naturally cinematic, warm, directional light at zero cost. Schedule outdoor or window-adjacent shoots during this window and let nature do the heavy lifting.
5. Study Films and Reverse-Engineer the Lighting Pause films you admire and ask: where is the key light? What’s the contrast ratio? Is the light warm or cool? Is there a backlight? Training your eye to read light is the fastest path to recreating it.
6. Slightly Underexpose for a Filmic Feel Cinematic images often sit just below “correct” exposure. A slightly darker image with rich blacks and controlled highlights tends to feel more filmic than a technically perfect but clinical exposure.
7. Add Depth With Background Lighting A perfectly lit subject against a flat, dark background looks two-dimensional. Use a practical light, a colored gel, or a subtle LED strip in the background to add depth, separation, and visual interest.
Conclusion
The right lights for filming are not a luxury — they are a fundamental requirement for anyone serious about video quality. From understanding the basic types of filming lights to mastering cinematic techniques like Rembrandt lighting, three-point setups, and practical-dominant scenes, lighting knowledge is the most transferable skill in your creative toolkit.
Start simple: one key light, one reflector, one great location. Master that before expanding your kit. Because in filmmaking, it’s never about how many lights you have — it’s about how well you understand the ones in front of you.